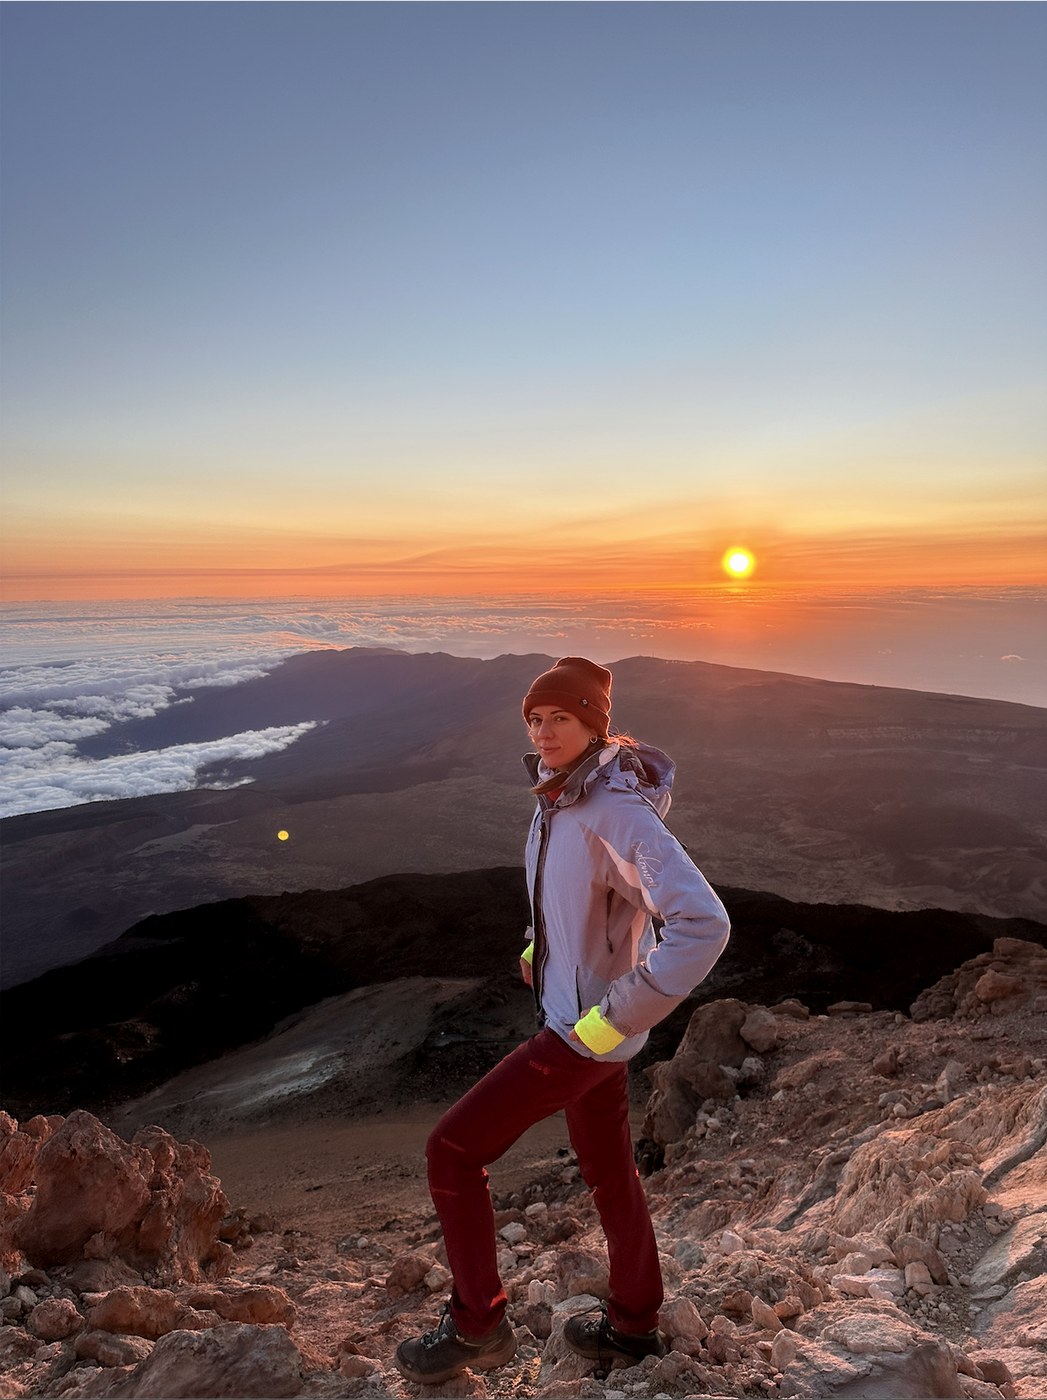
This matters especially in summer: after sunrise the volcanic slope warms up quickly.
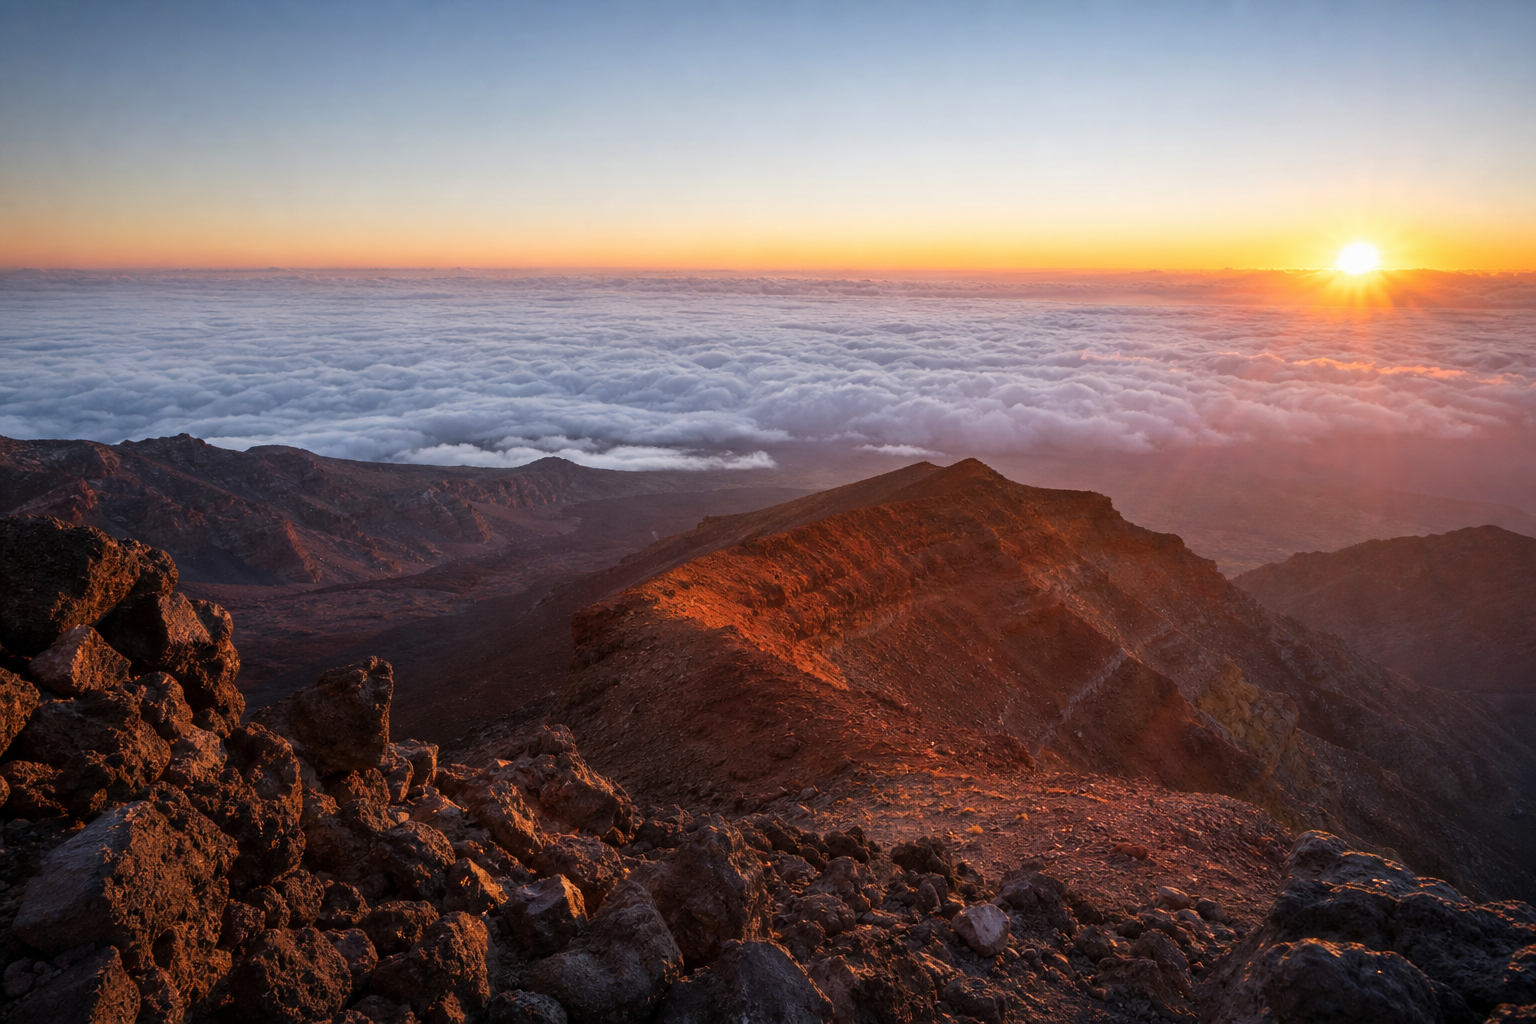
SUMMIT ASCENT GUIDE
Independent Mount Teide Hike
A practical guide to the ascent: route, permits, parking, cable car, gear list, descent options and altitude considerations.
Read this first
This is a serious ascent that requires preparation.
We completed this route ourselves and gathered the practical details that matter on the mountain: permits, parking, cable car, gear, pace and descent options. The goal is a calm, well-prepared sunrise on Teide.
3715 m summit
PNT 07 + PNT 10 main scenario
night start for sunrise
Start time
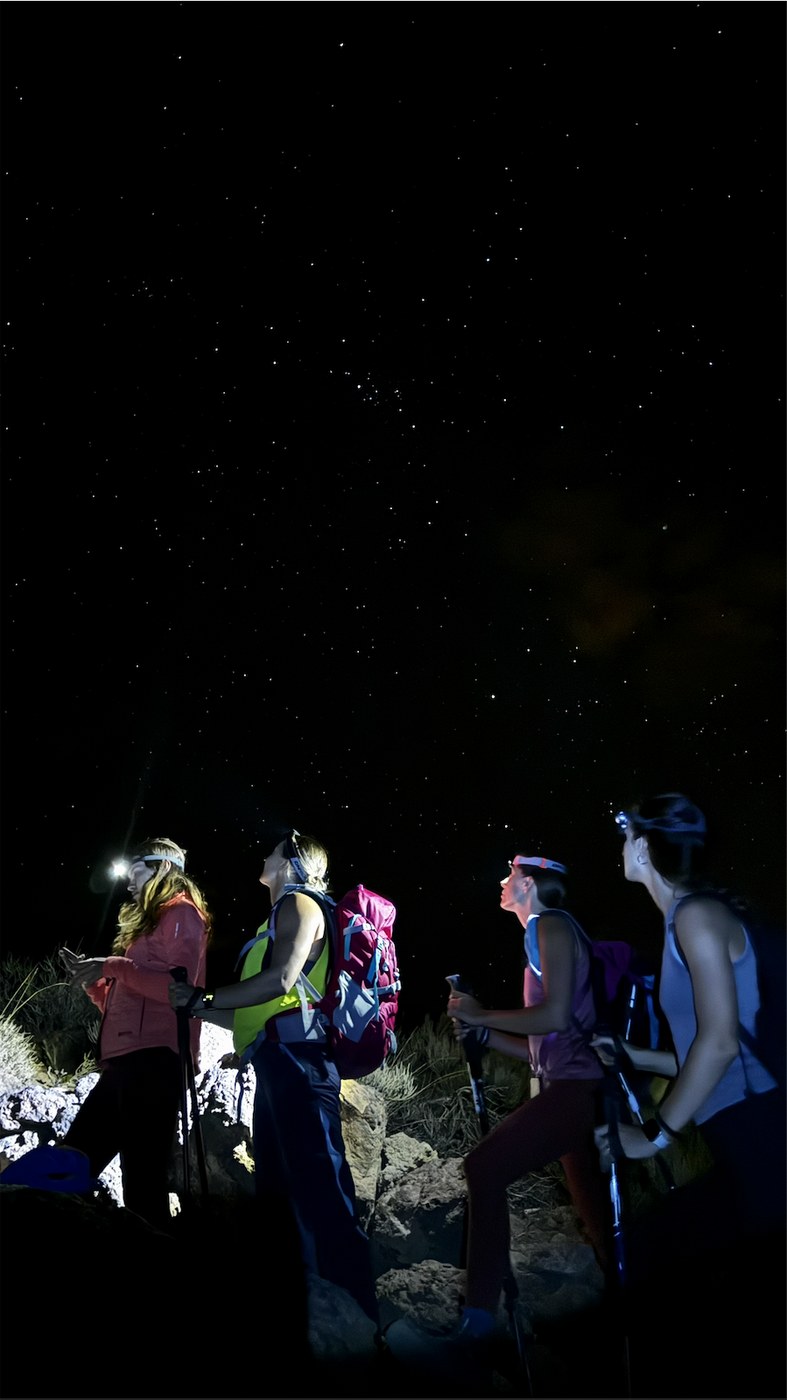
You can hike at any time of day, but the night ascent is especially powerful.
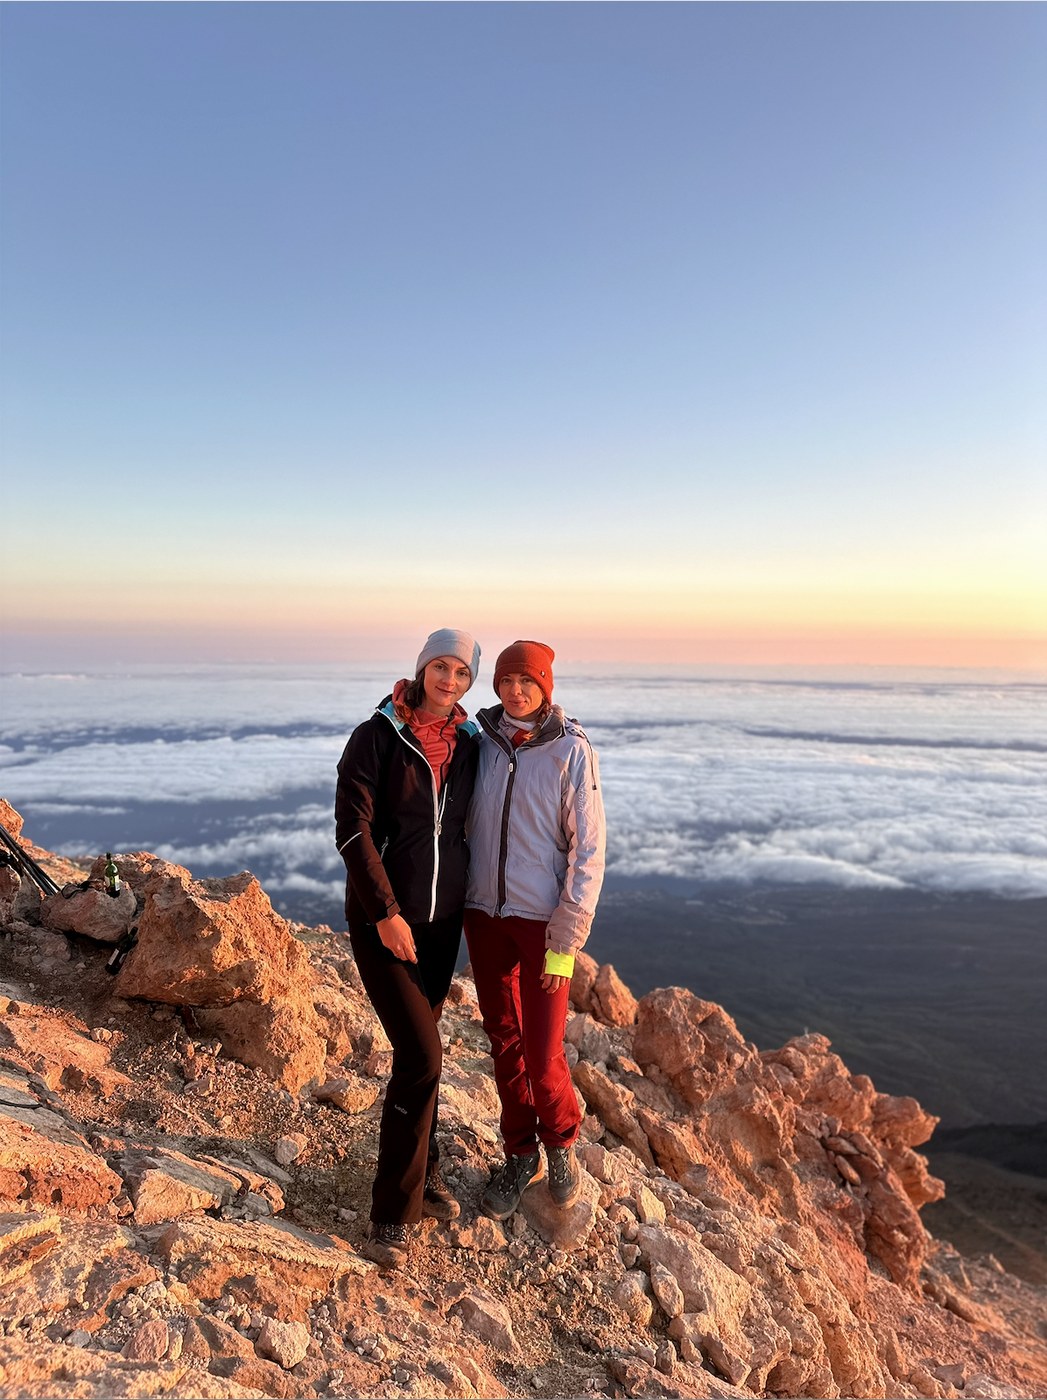
In daylight the route is easier to read, but at night it is cooler, quieter and the sunrise from the highest point of Spain and the Atlantic islands can become a lifelong memory. The table below gives an approximate start time from the cable car parking for a steady pace with a buffer. Always check the exact sunrise time for your date before you go.
At night there are fewer people and less visual noise, so it is easier to keep your rhythm.
The main moment of the route: light above the clouds and Teide’s shadow over the island.
| Month | Sunrise | Start |
|---|---|---|
| January | around 07:55 | 01:15-01:45 |
| February | around 07:40 | 01:00-01:30 |
| March | around 07:15 | 00:30-01:00 |
| April | around 07:45 | 01:00-01:30 |
| May | around 07:15 | 00:30-01:00 |
| June | around 07:05 | 00:15-00:45 |
| July | around 07:20 | 00:30-01:00 |
| August | around 07:35 | 00:45-01:15 |
| September | around 07:50 | 01:00-01:30 |
| October | around 08:05 | 01:15-01:45 |
| November | around 07:25 | 00:45-01:15 |
| December | around 07:50 | 01:15-01:45 |
Altitude first
Do an acclimatization hike before Teide.
The Teide ascent starts above 2,500 metres, where many hikers begin to feel the altitude and thinner air. One acclimatization hike before the climb helps you test pace, breathing and how your body feels before the night start.
A route to the summit of Guajara, with remains of the old observatory and panoramic views of Teide. A good option for gentle acclimatization, feeling the altitude and catching sunset in the national park.
A volcanic route to the huge Pico Viejo crater, with solid elevation gain and a real high-mountain feel. Excellent preparation before the main Teide ascent.
Step-by-step plan
Four steps, then all route details below.
Parking and approach
You can leave the car at the cable car station or use two cars. Then walk 4.8 km to Montaña Blanca.
Open logisticsMain ascent PNT 07
This route requires a permit. It is the main climb to La Rambleta and the longest part of the ascent, with the main elevation gain.
Open PNT 07Final section PNT 10
If you want to continue from La Rambleta to the Teide crater, book a separate PNT 10 permit in advance.
Open PNT 10Descent plan
Descend by cable car if it is running, or keep a walking descent as your backup plan in case of wind.
Descent optionsOfficial trails
Choose the route by effort, not only by views.
Recommended first ascent
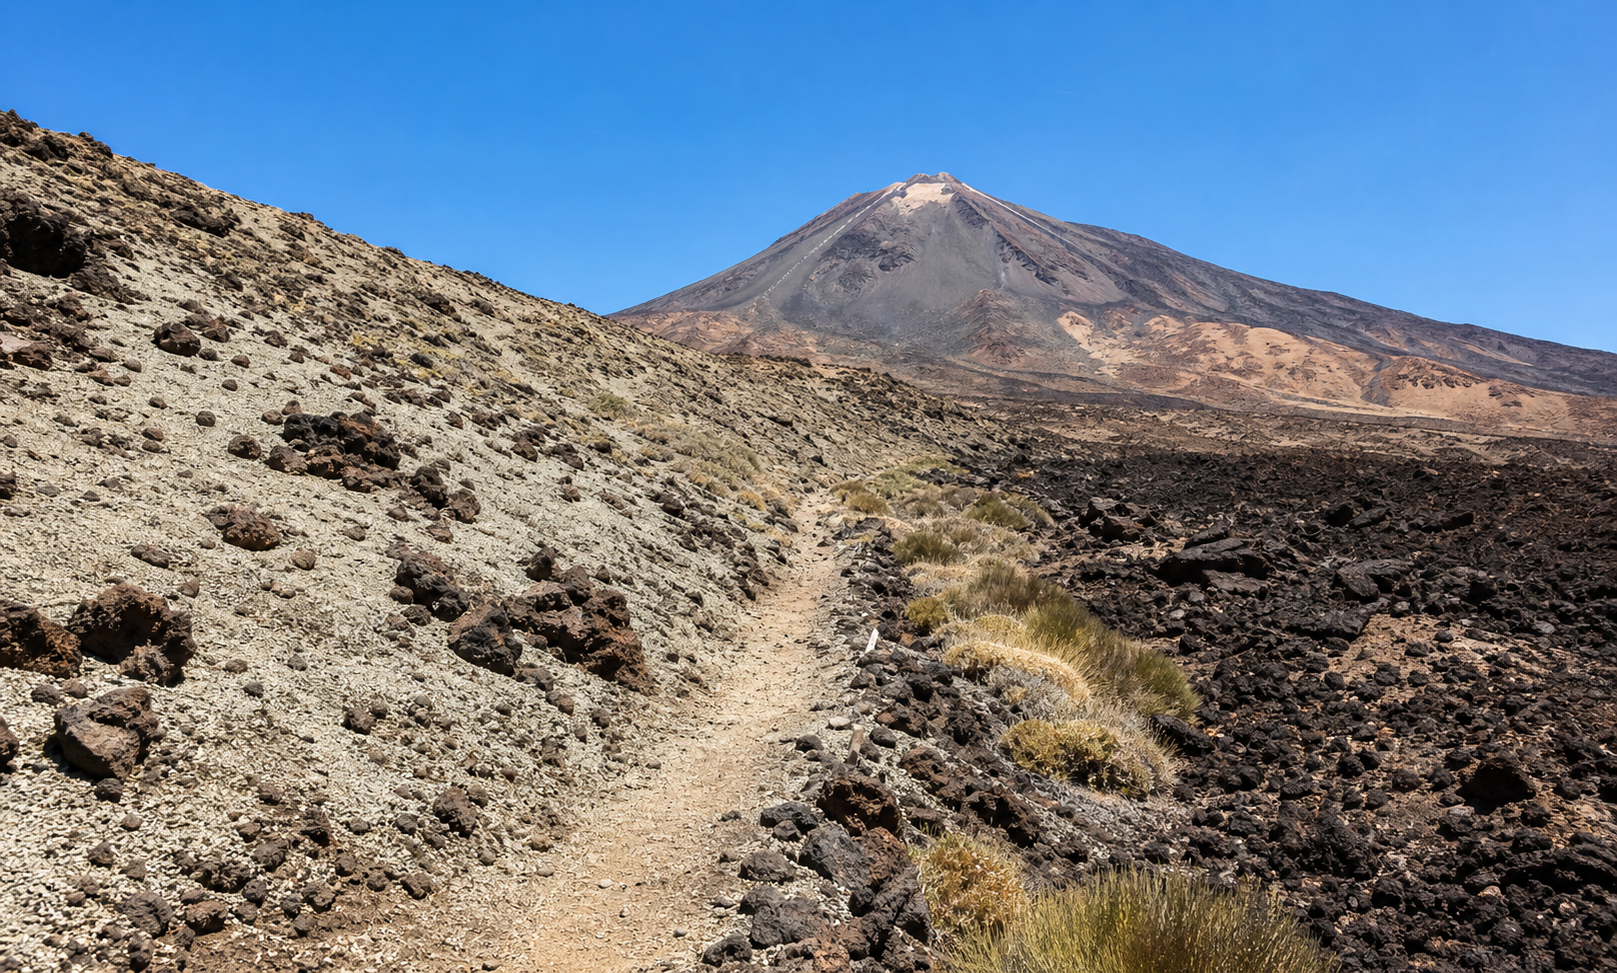
PNT 07: Montaña Blanca -> La Rambleta
The main and most popular route for climbing Mount Teide. PNT 07 starts at the Montaña Blanca parking area and ends at the upper cable car station, La Rambleta. The final kilometres feel like a true high-altitude climb: slow pace, cold wind, heavy breathing and loose volcanic ground.
Permit required. PNT 07 is the recommended first ascent, but the permit is mandatory.
- Distance
- 8.29 km
- Time
- about 5 h 55 min
- Gain
- +1309 m
- Start
- Montaña Blanca
- Highest point
- 3535 m
- Difficulty
- High
Wilder volcanic option
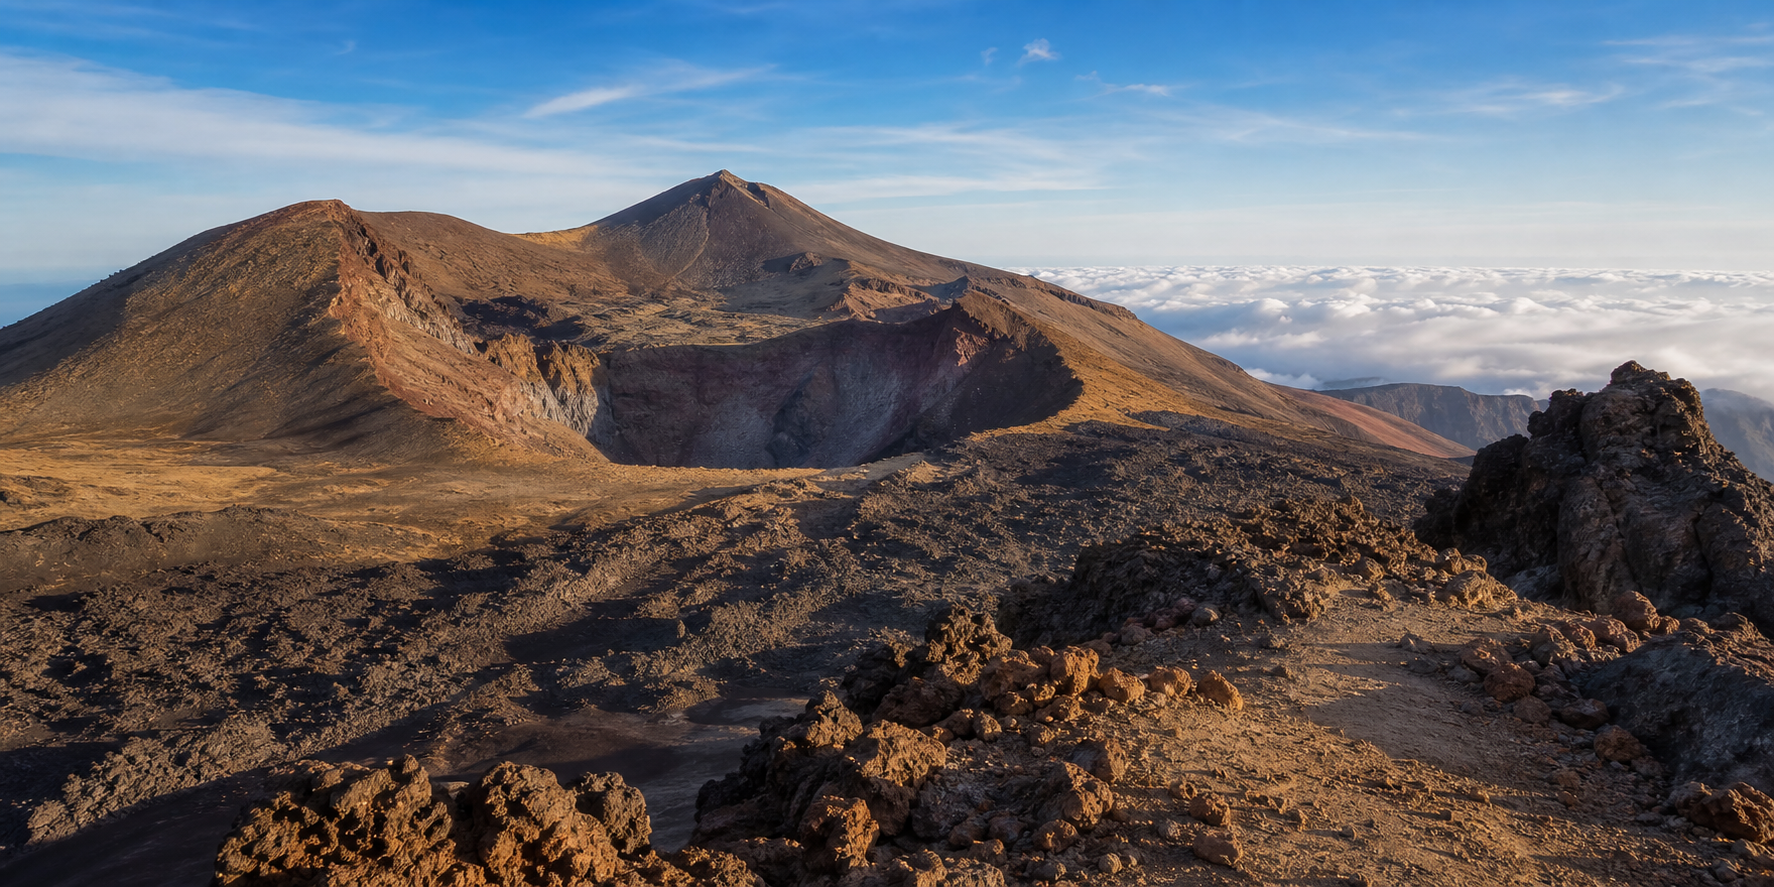
PNT 09: Teide -> Pico Viejo
A dramatic volcanic route through the huge Pico Viejo crater, lava fields and black landscapes. Officially it is described as a descent, but some hikers reverse it as a harder ascent.
As an ascent, PNT 09 is much harder than PNT 07 and is not recommended for a first Teide climb.
- Distance
- 9.61 km
- Ascent time
- 6-8 h+
- Gain
- +1600 m
- Type
- Reverse ascent
- Highest point
- 3498 m
- Difficulty
- Very high
Final section to the crater
PNT 10: Sendero Telesforo Bravo
The final section from La Rambleta to the Teide crater. The route is short, but at altitude it still feels demanding because of the thin air.
Permit required. This is the final section to the crater.
- Distance
- 0.7 km
- Ascent time
- 25-45 min
- Gain
- +168 m
- Type
- Final section to the Teide crater
- Highest point
- 3715 m
- Difficulty
- High
Access rules
Permits are part of the route, not a formality.
You need permits for every chosen trail
First choose your ascent route, then book the permit for that trail. If you want to climb to the Teide crater, book PNT 10 separately. National park staff may check permits on the trail.
Official permit pages
Book through Tenerife ON. You may need to register or log in before selecting a date.
Cable car
The easiest descent is only easy if the cable car is running.
Buy cable car tickets in advance on the official Volcano Teide website and check the status before you start.
Buy cable car ticketsWhat to know
Why hikers choose it
It is cooler at night, climbing feels easier, and the first light near the summit is the main reason many hikers choose this timing. You also avoid a punishing walking descent after a sleepless ascent.
Gear list
Dress for wind, darkness and waiting at altitude.
Parking and route logistics
Start at Montaña Blanca. Finish at your car.
The most convenient setup is to leave the car at the lower cable car station, walk 4.8 km to Montaña Blanca, climb to the summit area and then descend by cable car back to the car.
A second convenient option is two cars: leave one at the start and one at the finish. This is especially useful for long routes or a walking descent.
Field notes
Small decisions can completely change how the ascent feels.
Planning FAQ
Short answers about climbing Mount Teide.
Can you climb Mount Teide independently?
Yes. You can climb Mount Teide independently if you plan the route, book permits, check the weather and prepare for altitude. The clearest first-ascent scenario is PNT 07 from Montaña Blanca to La Rambleta plus the separate PNT 10 permit for the crater.
Do you need a permit to hike Mount Teide?
Yes. PNT 07, PNT 09 and PNT 10 require Tenerife ON permits. If you go to the Teide crater, PNT 10 is booked separately from the ascent route.
When should you start to see sunrise on Teide?
For a calm pace, hikers often start at night about 5-6 hours before sunrise. The exact time depends on the month, your pace, weather and parking.
Can you descend Mount Teide by cable car?
Yes, if the cable car is operating and you have a ticket. Wind can close the cable car even on a sunny day, so always keep a walking descent backup plan.
How difficult is the PNT 07 route?
PNT 07 is a long high-altitude ascent with about 1,300 m of elevation gain. The difficulty comes from altitude, cold wind, darkness, loose volcanic ground and fatigue after the night start.
What should you take for the night ascent?
Bring warm layers, a windproof jacket, hat, gloves, headlamp, 2-3 litres of water, food, a power bank and a backup plan in case the cable car is closed.